R G D
new-white-garage-door-install-2

Expert Garage Door Services in Richardson, TX

Weather

The Effect of Climate on Garage Doors in Richardson, TX

The city of Richardson, TX, has a humid subtropical climate, characterized by hot summers, mild winters, and moderate rainfall. The prevailing weather conditions can have quite an effect on the garage door. Here is the effect of climate on garage doors in the locality:

icon

Heat and Sun Exposure

Effect: The scorching summer heat and direct sunlight can lead to deformation or rupture of garage door materials like wood. Metal doors might swell, which may in turn change the door's alignment and operation.

Solution: Periodic upkeep like sealing and painting wood doors, as well as checking metal parts for proper alignment can help reduce the harm.
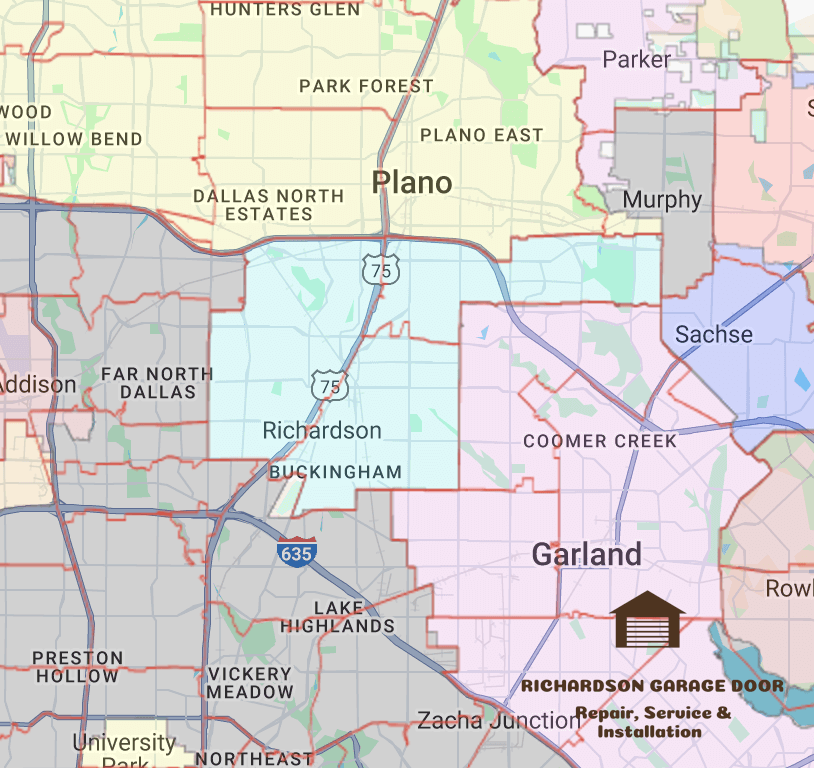
richardson-texas-city-map
icon

Humidity and Moisture

Effect: Rusting of metal parts like springs, tracks, and hinges could be a result of the soaring summer humidity levels. Meanwhile, wooden doors may gather moisture and thus swell or rot.

Solution: Use hardware that is resistant to rust and apply sealants on the wooden doors that are weatherproof.

icon

Rain and Storms

Effect: Excessive rain and sporadic storms could cause water destruction, especially if the weatherstripping at the bottom of the door is worn. Consequently, it may also cause flooding in the garage.

Solution: Regularly inspect and replace weatherstripping to arrest the problem of water intrusion.

icon

Winter Cold Snaps

Effect: Even though winters in Richardson are mainly mild, the occasional freezing temperatures can take a toll on springs and lubricants, making it hard to open or close the door.

Solution: Utilize lubricants that are not affected by cold and check the springs for the right tension during winter.

icon

Wind and Storm Damage

Effect: Gales that are strong, mostly in storm season can wreak havoc on garage doors if they are not supported properly. Lightweight doors might get dents or misalignments.

Solution: Fit wind-resistant braces or go for a more durable door material.
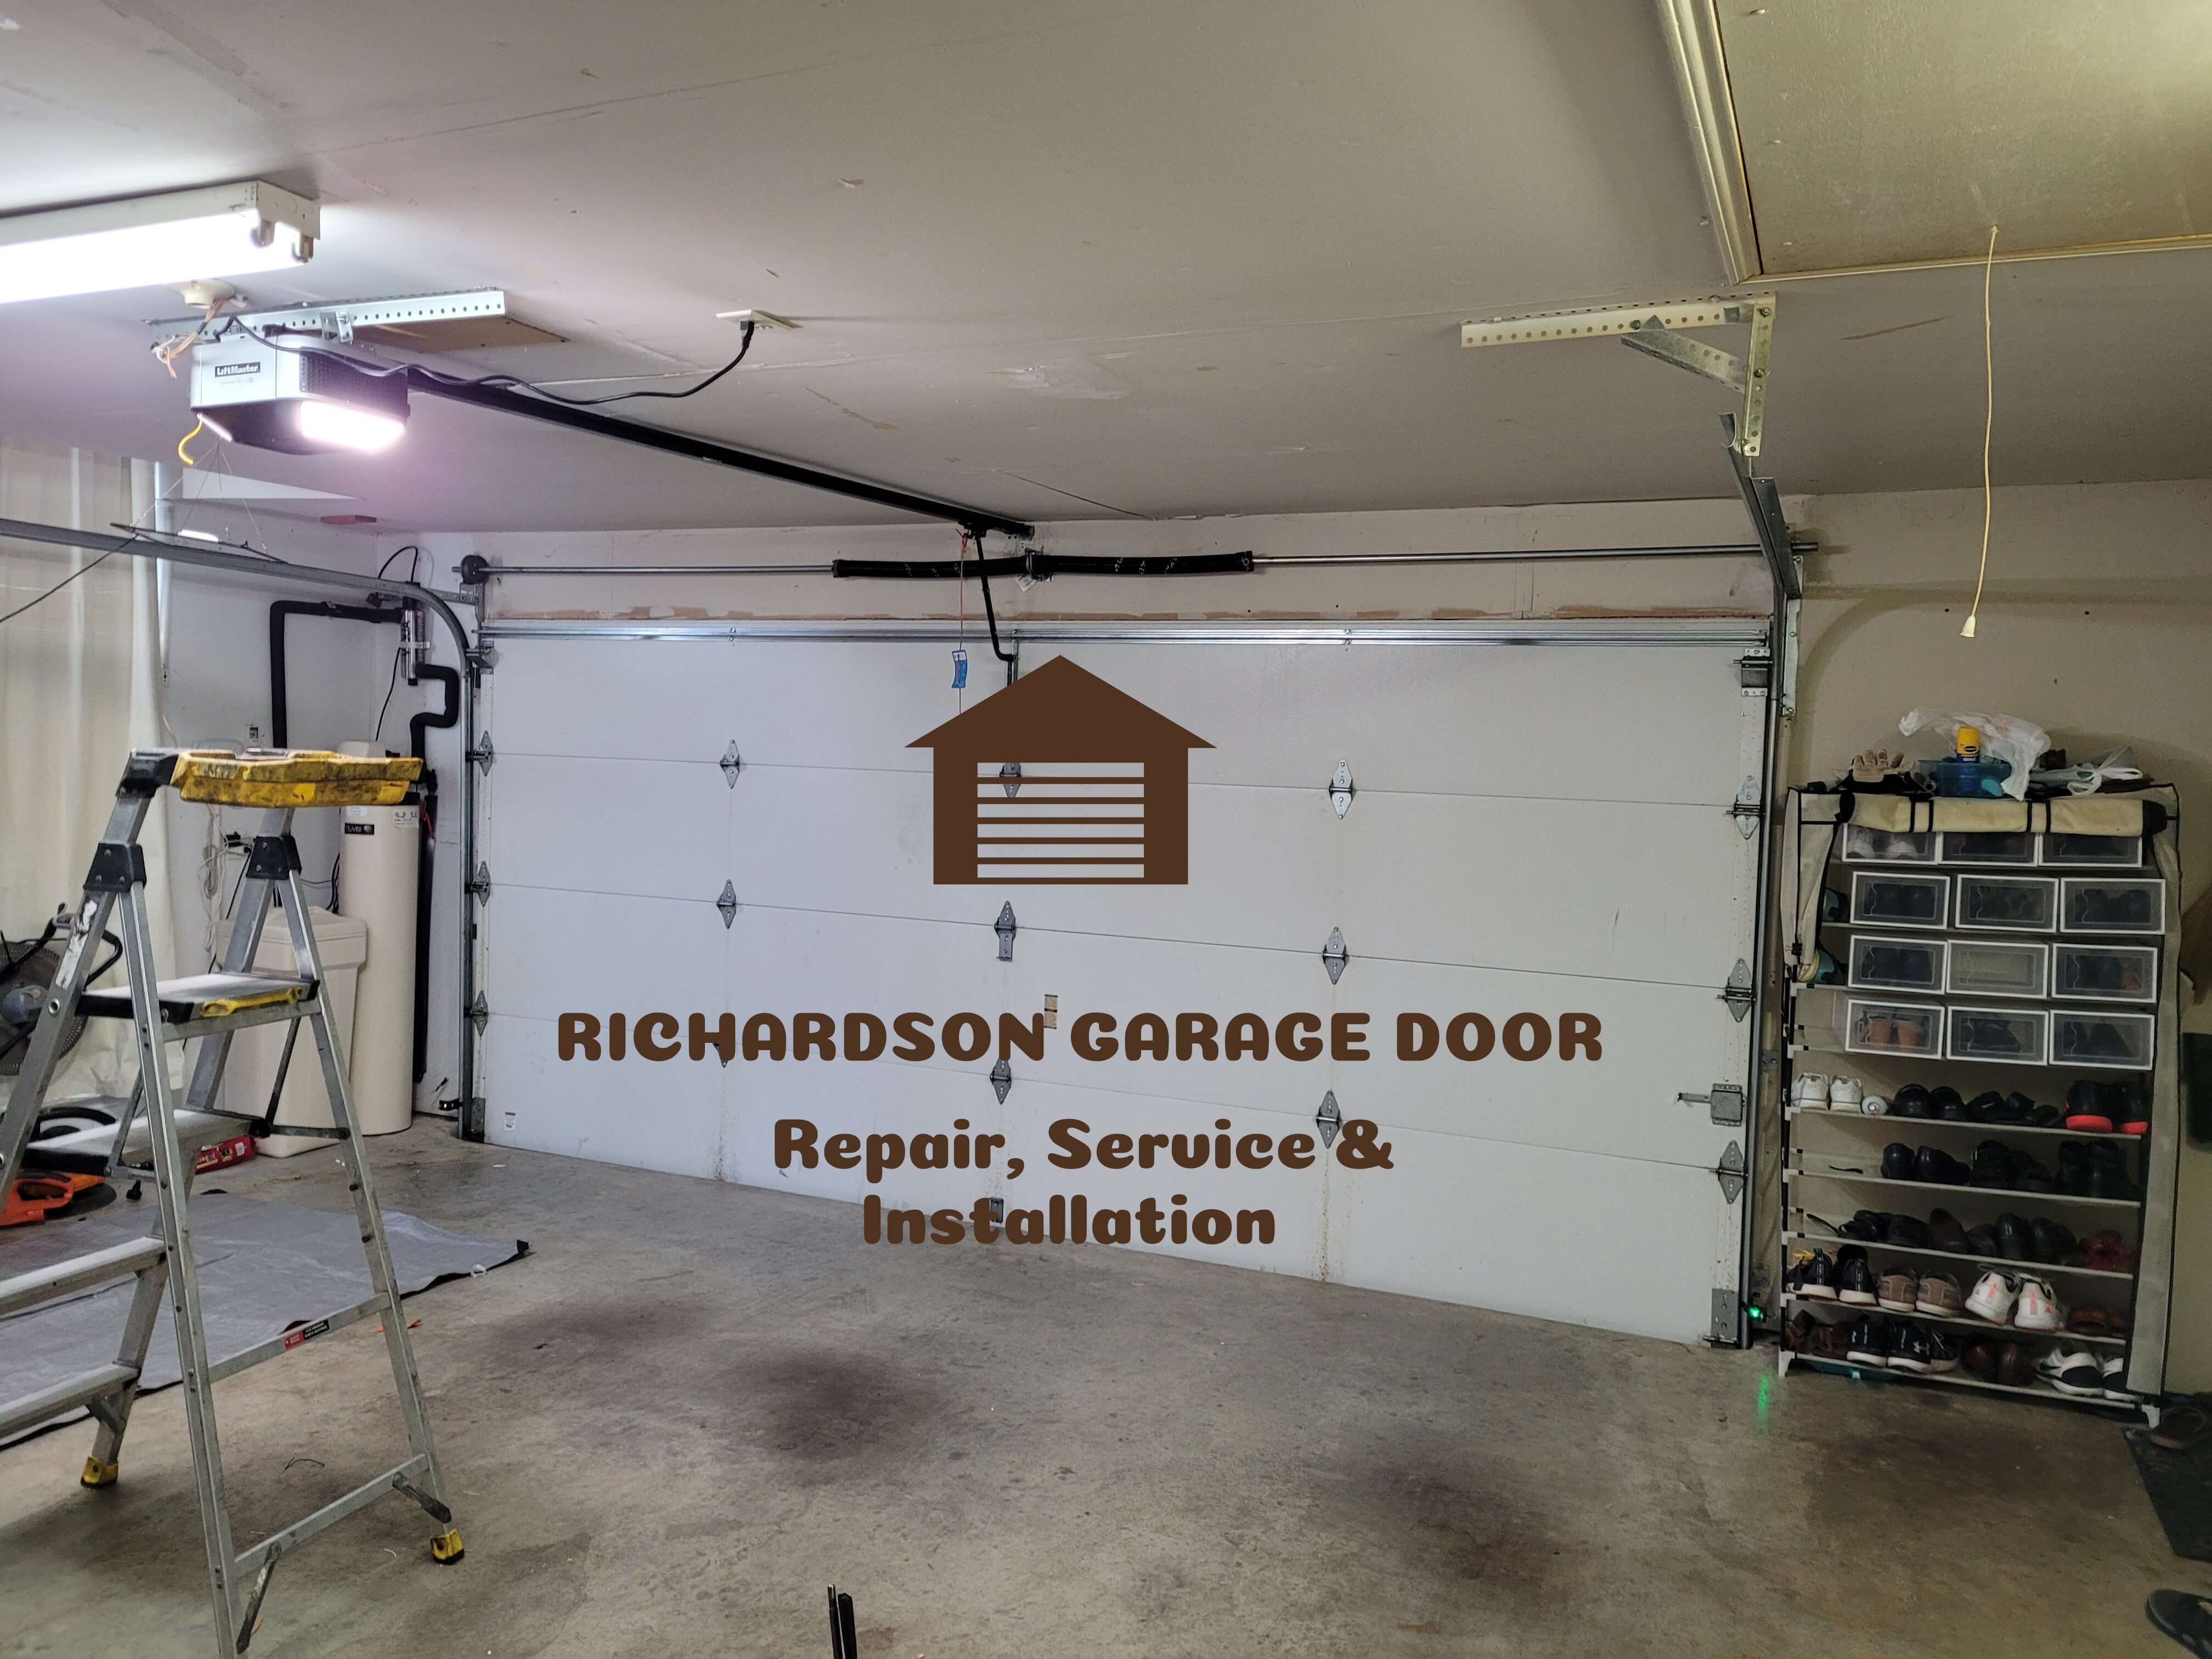
steelback-garage-door-repair
chamberlain-garage-door-opener-install

Remote Program

Garage Door Remote Program

The procedure of programming a garage door remote is different for every garage door opener model. So below is the general guide to follow for the procedure:
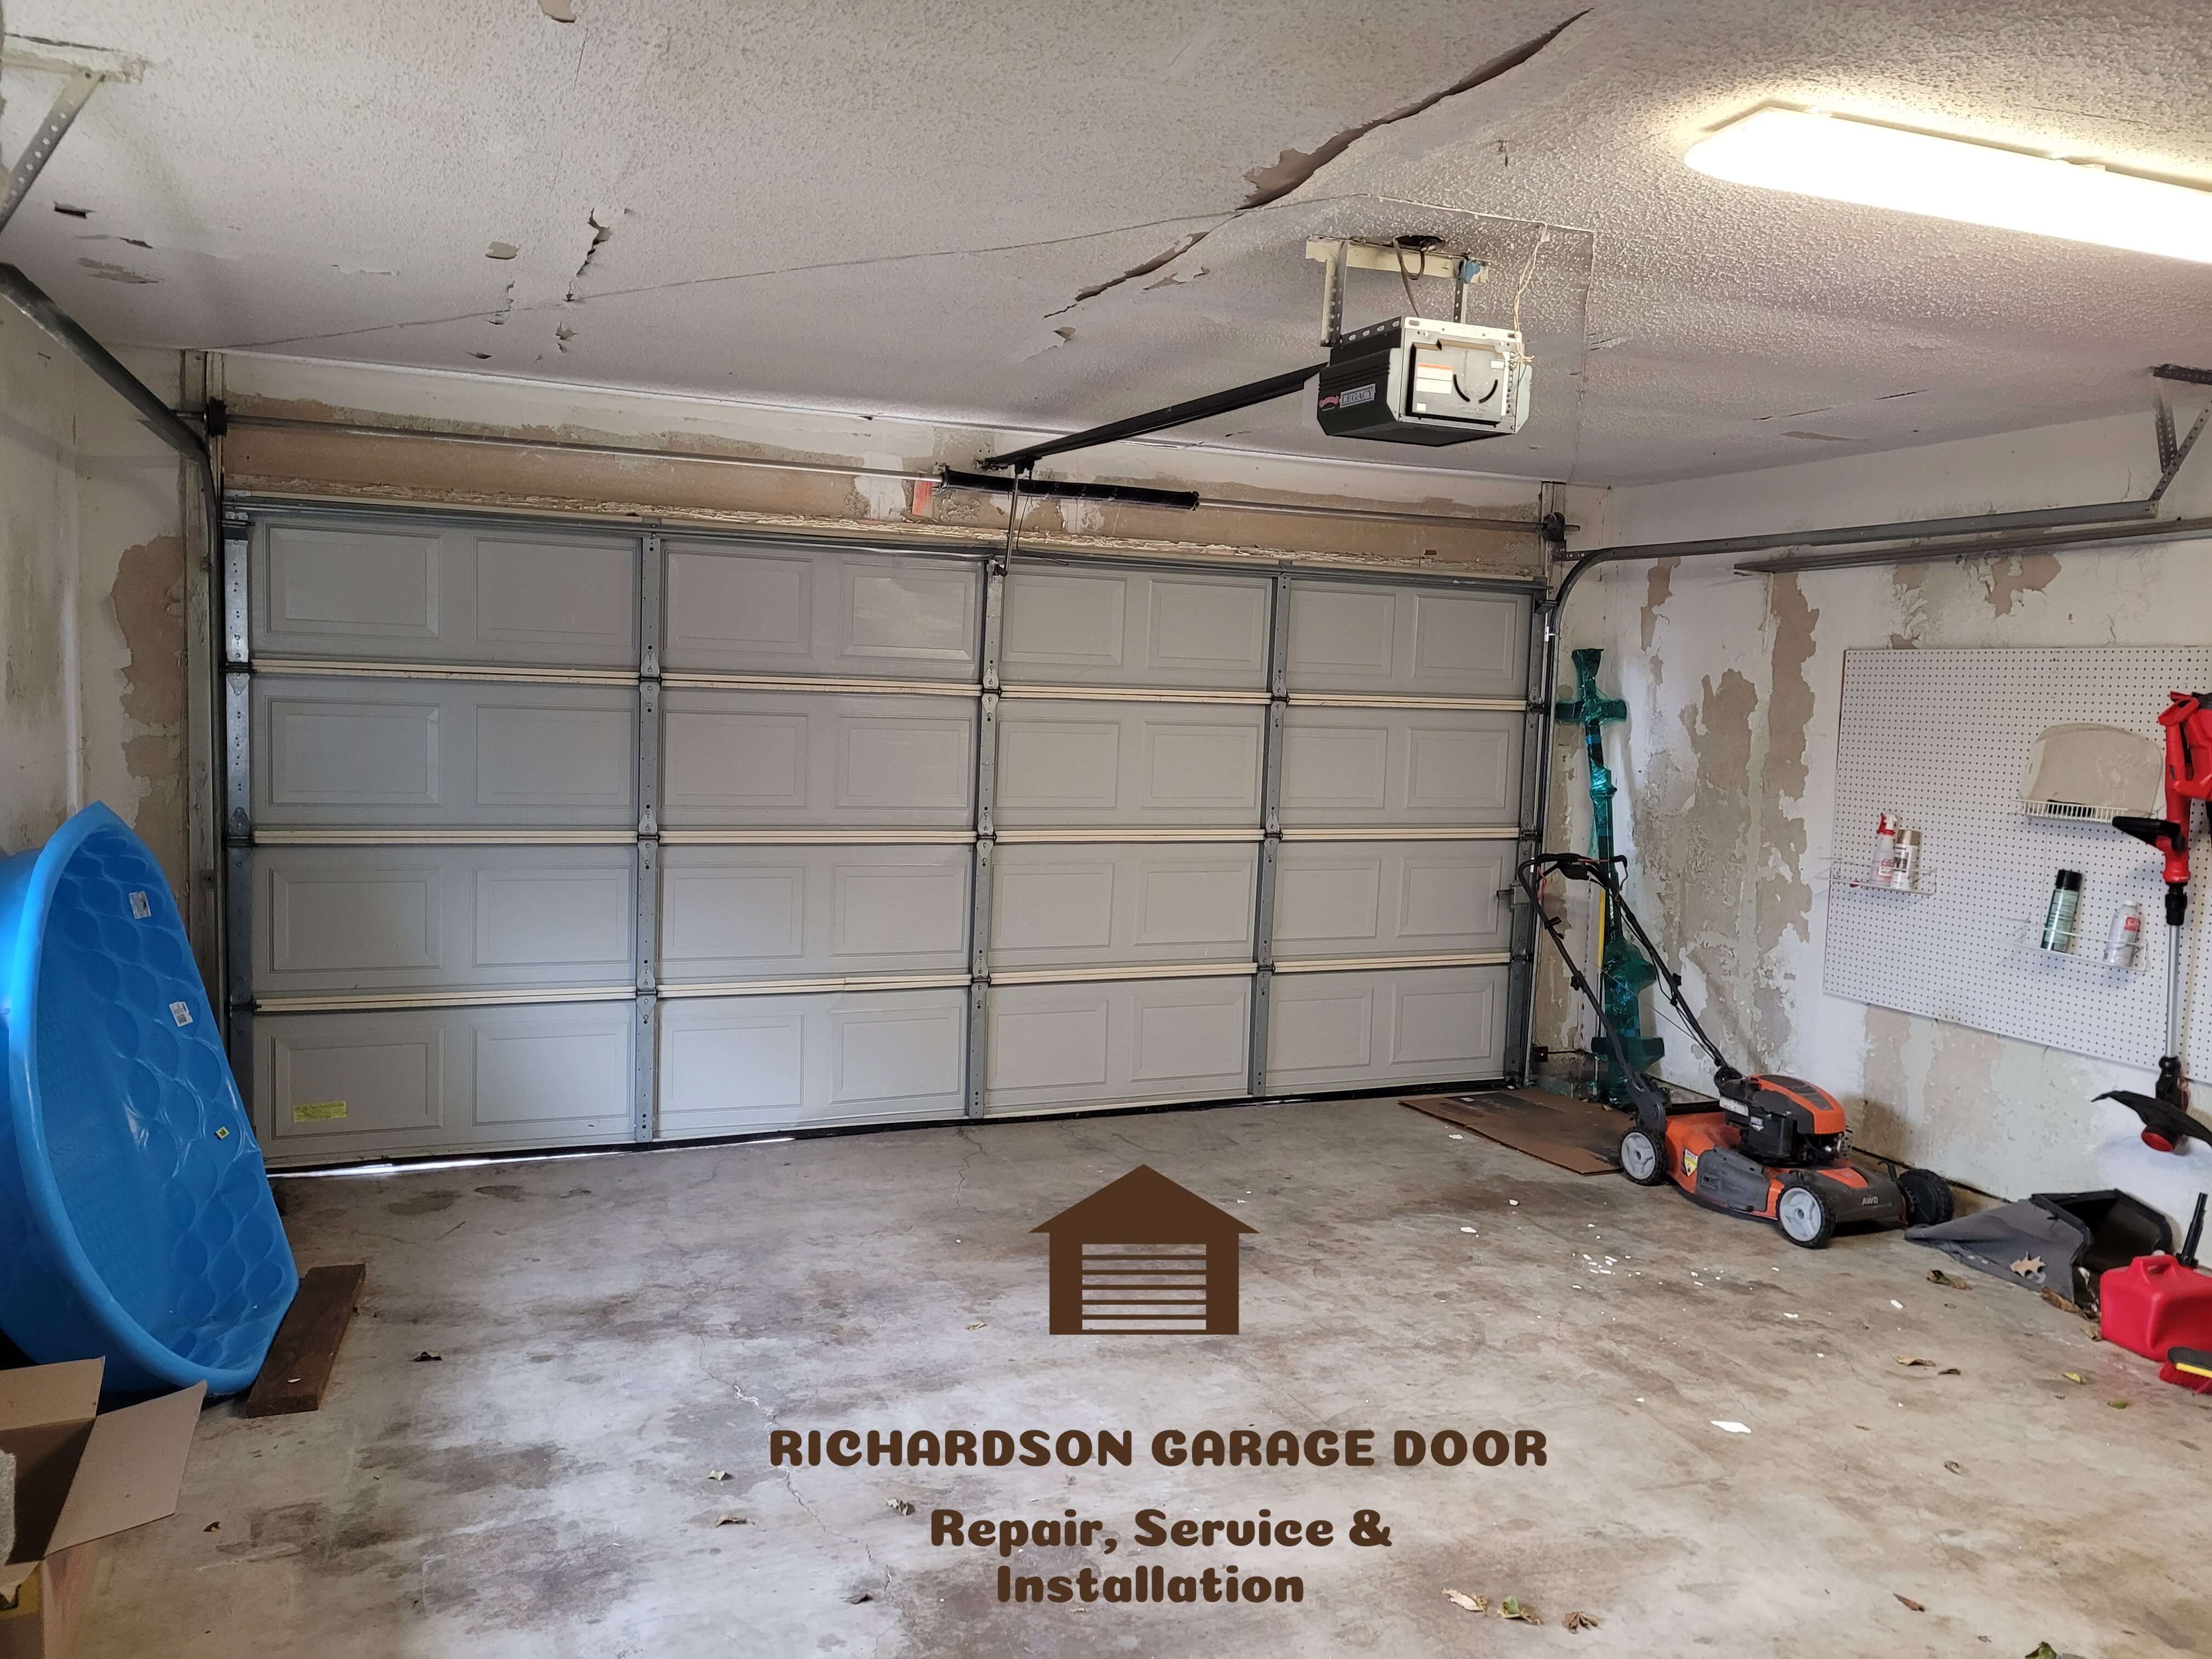
Garage Door Remote Programming Steps

icon

Identify the "Learn" Button

  • Confirm the existence of the "Learn" or "Program" button on your garage door opener. It may likely be found on the back or side of the motor unit around the antenna wire.
  • In case it’s necessary, remove the light cover from the device first to get to the button.
icon

Set Up the Remote

  • The remote that corresponds with your garage door opener model comes with the kit.
  • Ensure that the remote has its batteries properly set and working.
icon

Go to Programming Mode

  • Continue pressing the "Learn" button found on the garage door opener. The indicator light will then start to blink showing that you have successfully activated the mode (usually this may take 30 seconds to 1 minute).
  • In the instance of some openers, the light will remain solid and will not blink.
icon

Add the Remote

  • Then, you should press the button on the remote that you would like to program. It is a requirement to keep it pressed down for some seconds until the garage door opener’s indicator light flashes or gives a click.
  • The above confirms that the remote has been synced.
icon

Conduct the Test on the Remote

  • Press the programmed button on the remote to check if the garage door responds properly by opening and shutting.
icon

Additional Remotes Can be Configured Again (if necessary)

  • To do this for the other remote, start from step 3 to step 5.

Solutions for Troubleshooting

  • Wrong Pairing: Make sure that you’re close when doing synchronization.
  • Memory Clearance: If the opener does not pair, reset its memory by keeping the "Learn" button held until the indicator light is no longer blinking (about 6–10 seconds). After that, re-program the remotes.
  • Checking Compatibility: Ensure that the remote is indeed compatible with the specific garage door opener model you have.

Manufacturer Specific Notes

  • LiftMaster/Chamberlain/Craftsman: Usually available with a yellow, green, orange, or purple "\Learn\" button."
  • Genie: Generally needs entering a particular code before remote.
  • Older Models: DIP switches may have to be relocated in both your remote and opener for syncing.
  • For any specific features that your remote or garage door opener may carry, always refer to the user manual for the respective brand's instructions.
legacy-overhead-garage-door-repair

Travel Limits

Opener Travel Program

The constant travel limits are the only means of preventing your garage opener circuit from accidental opening and closing. Most of the modern garage door openers are programmed with travel limit settings that you can easily do by following some simple steps:
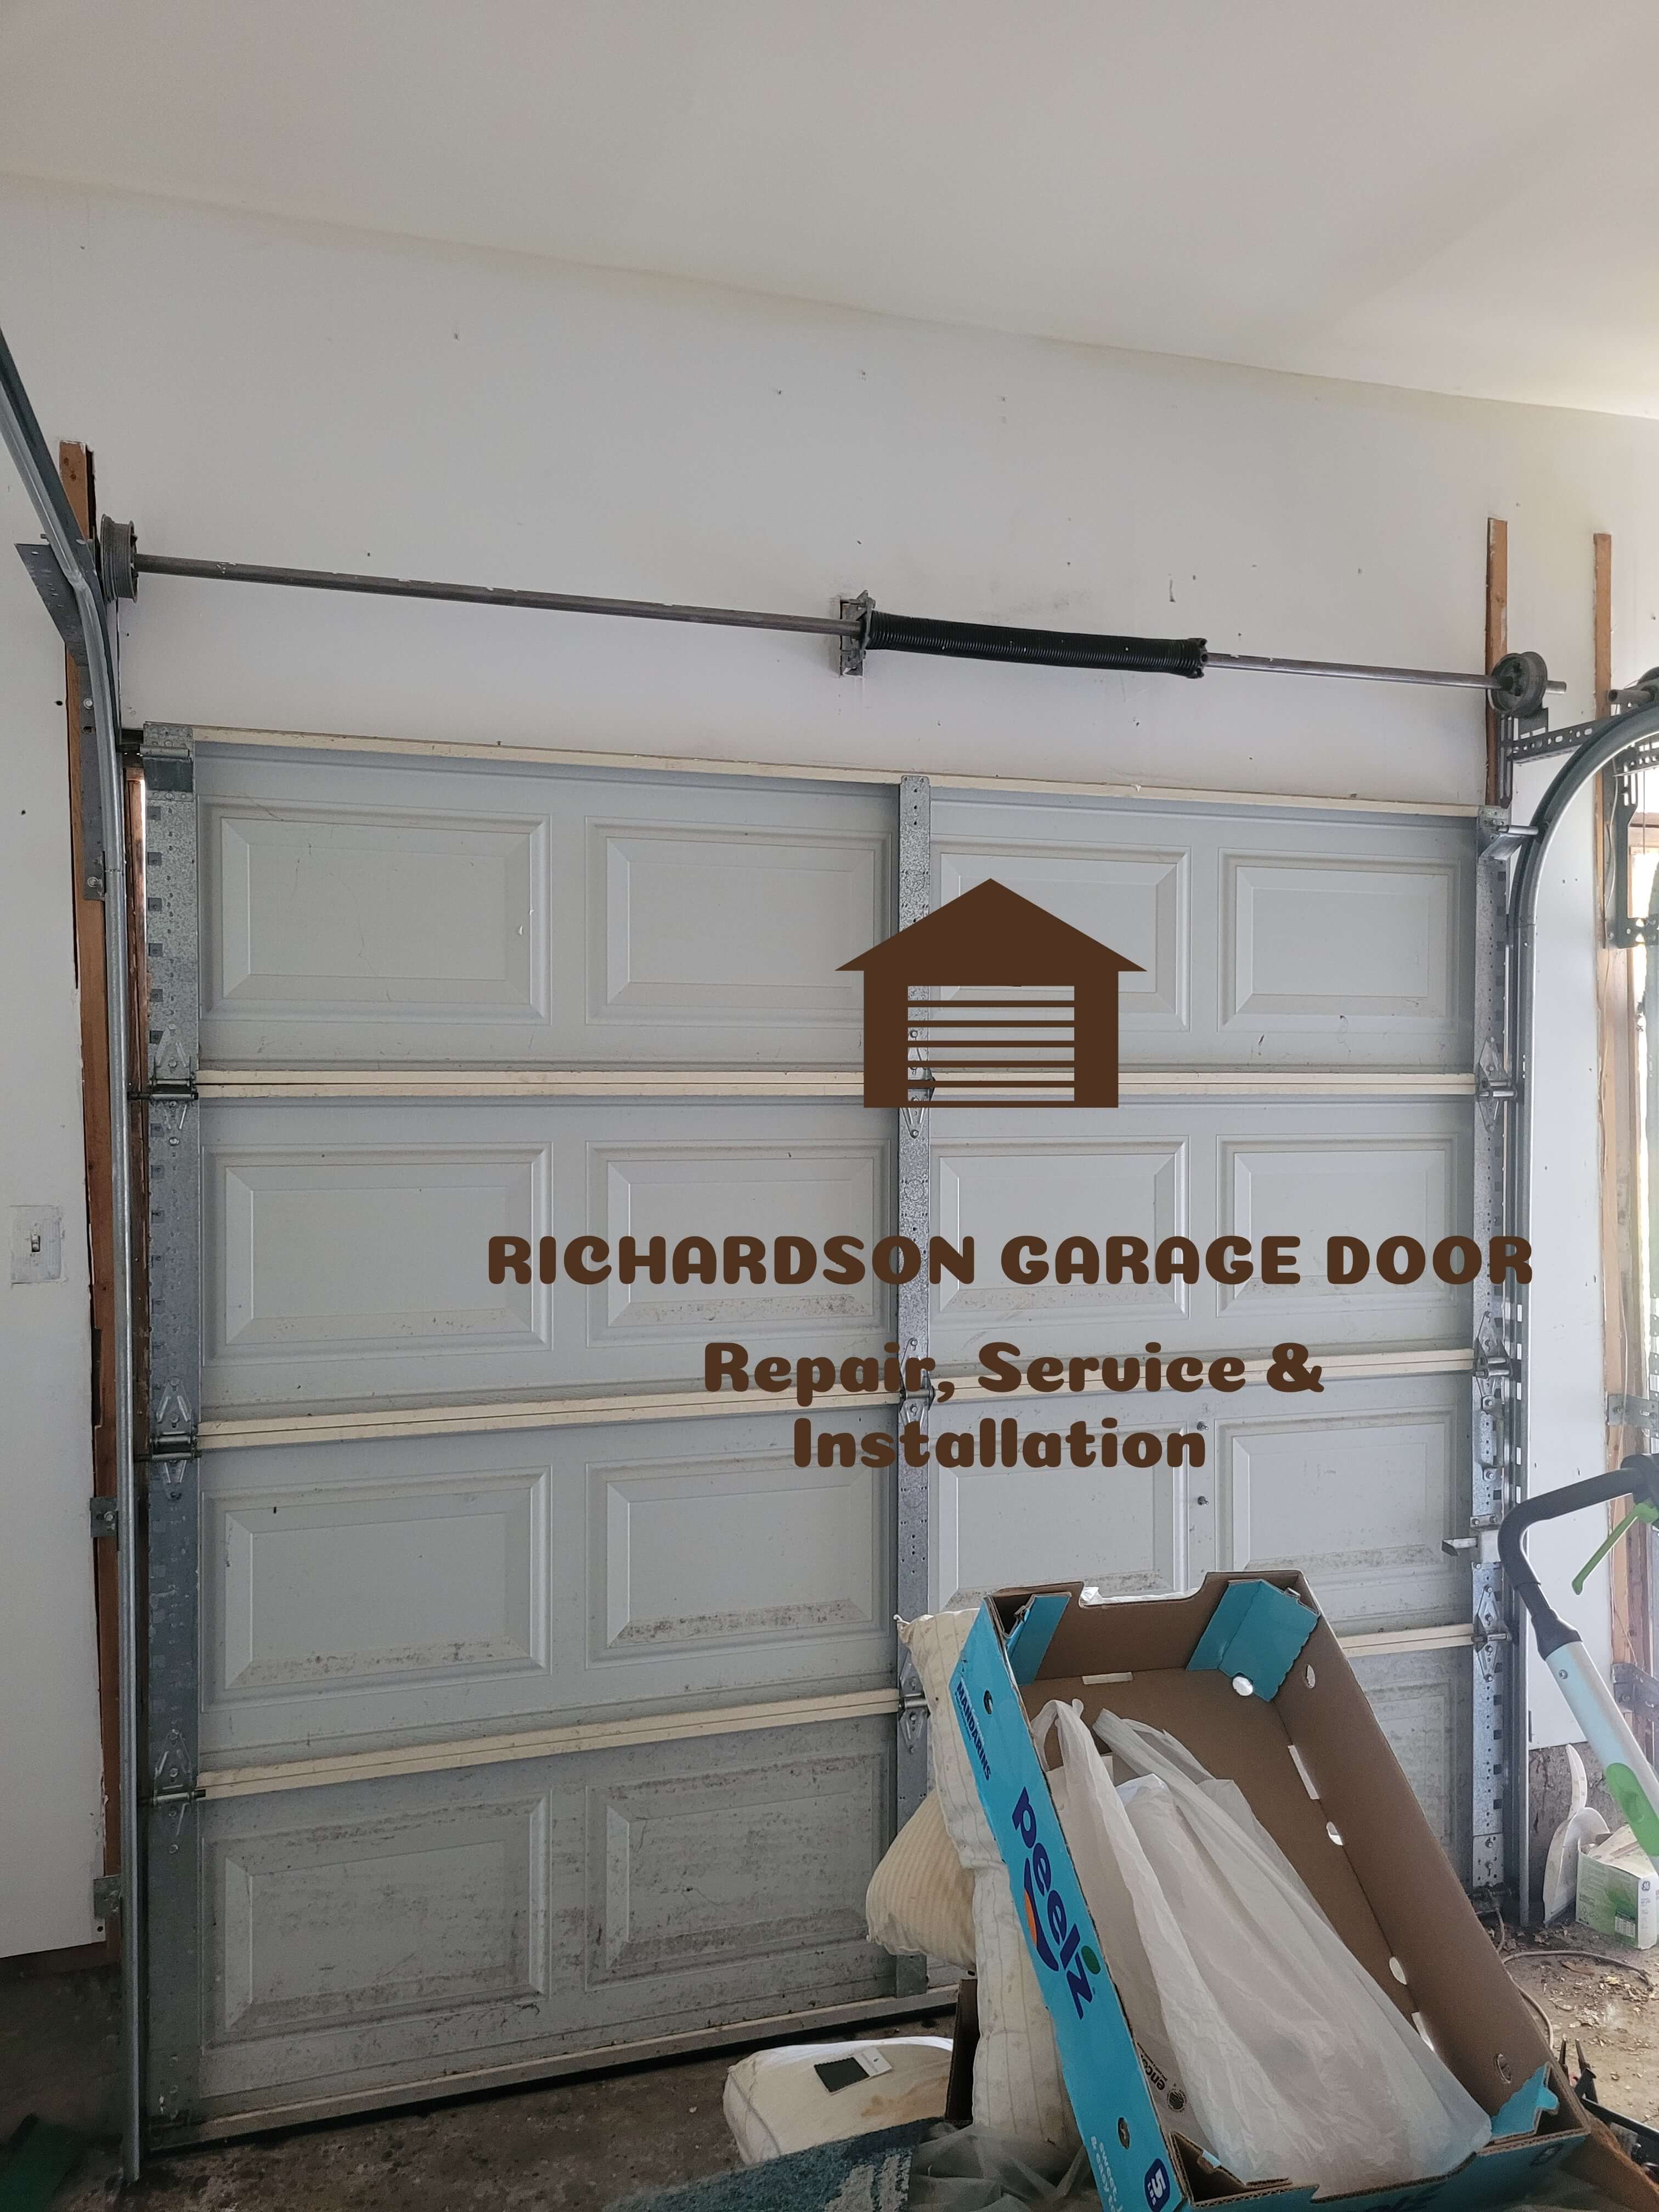
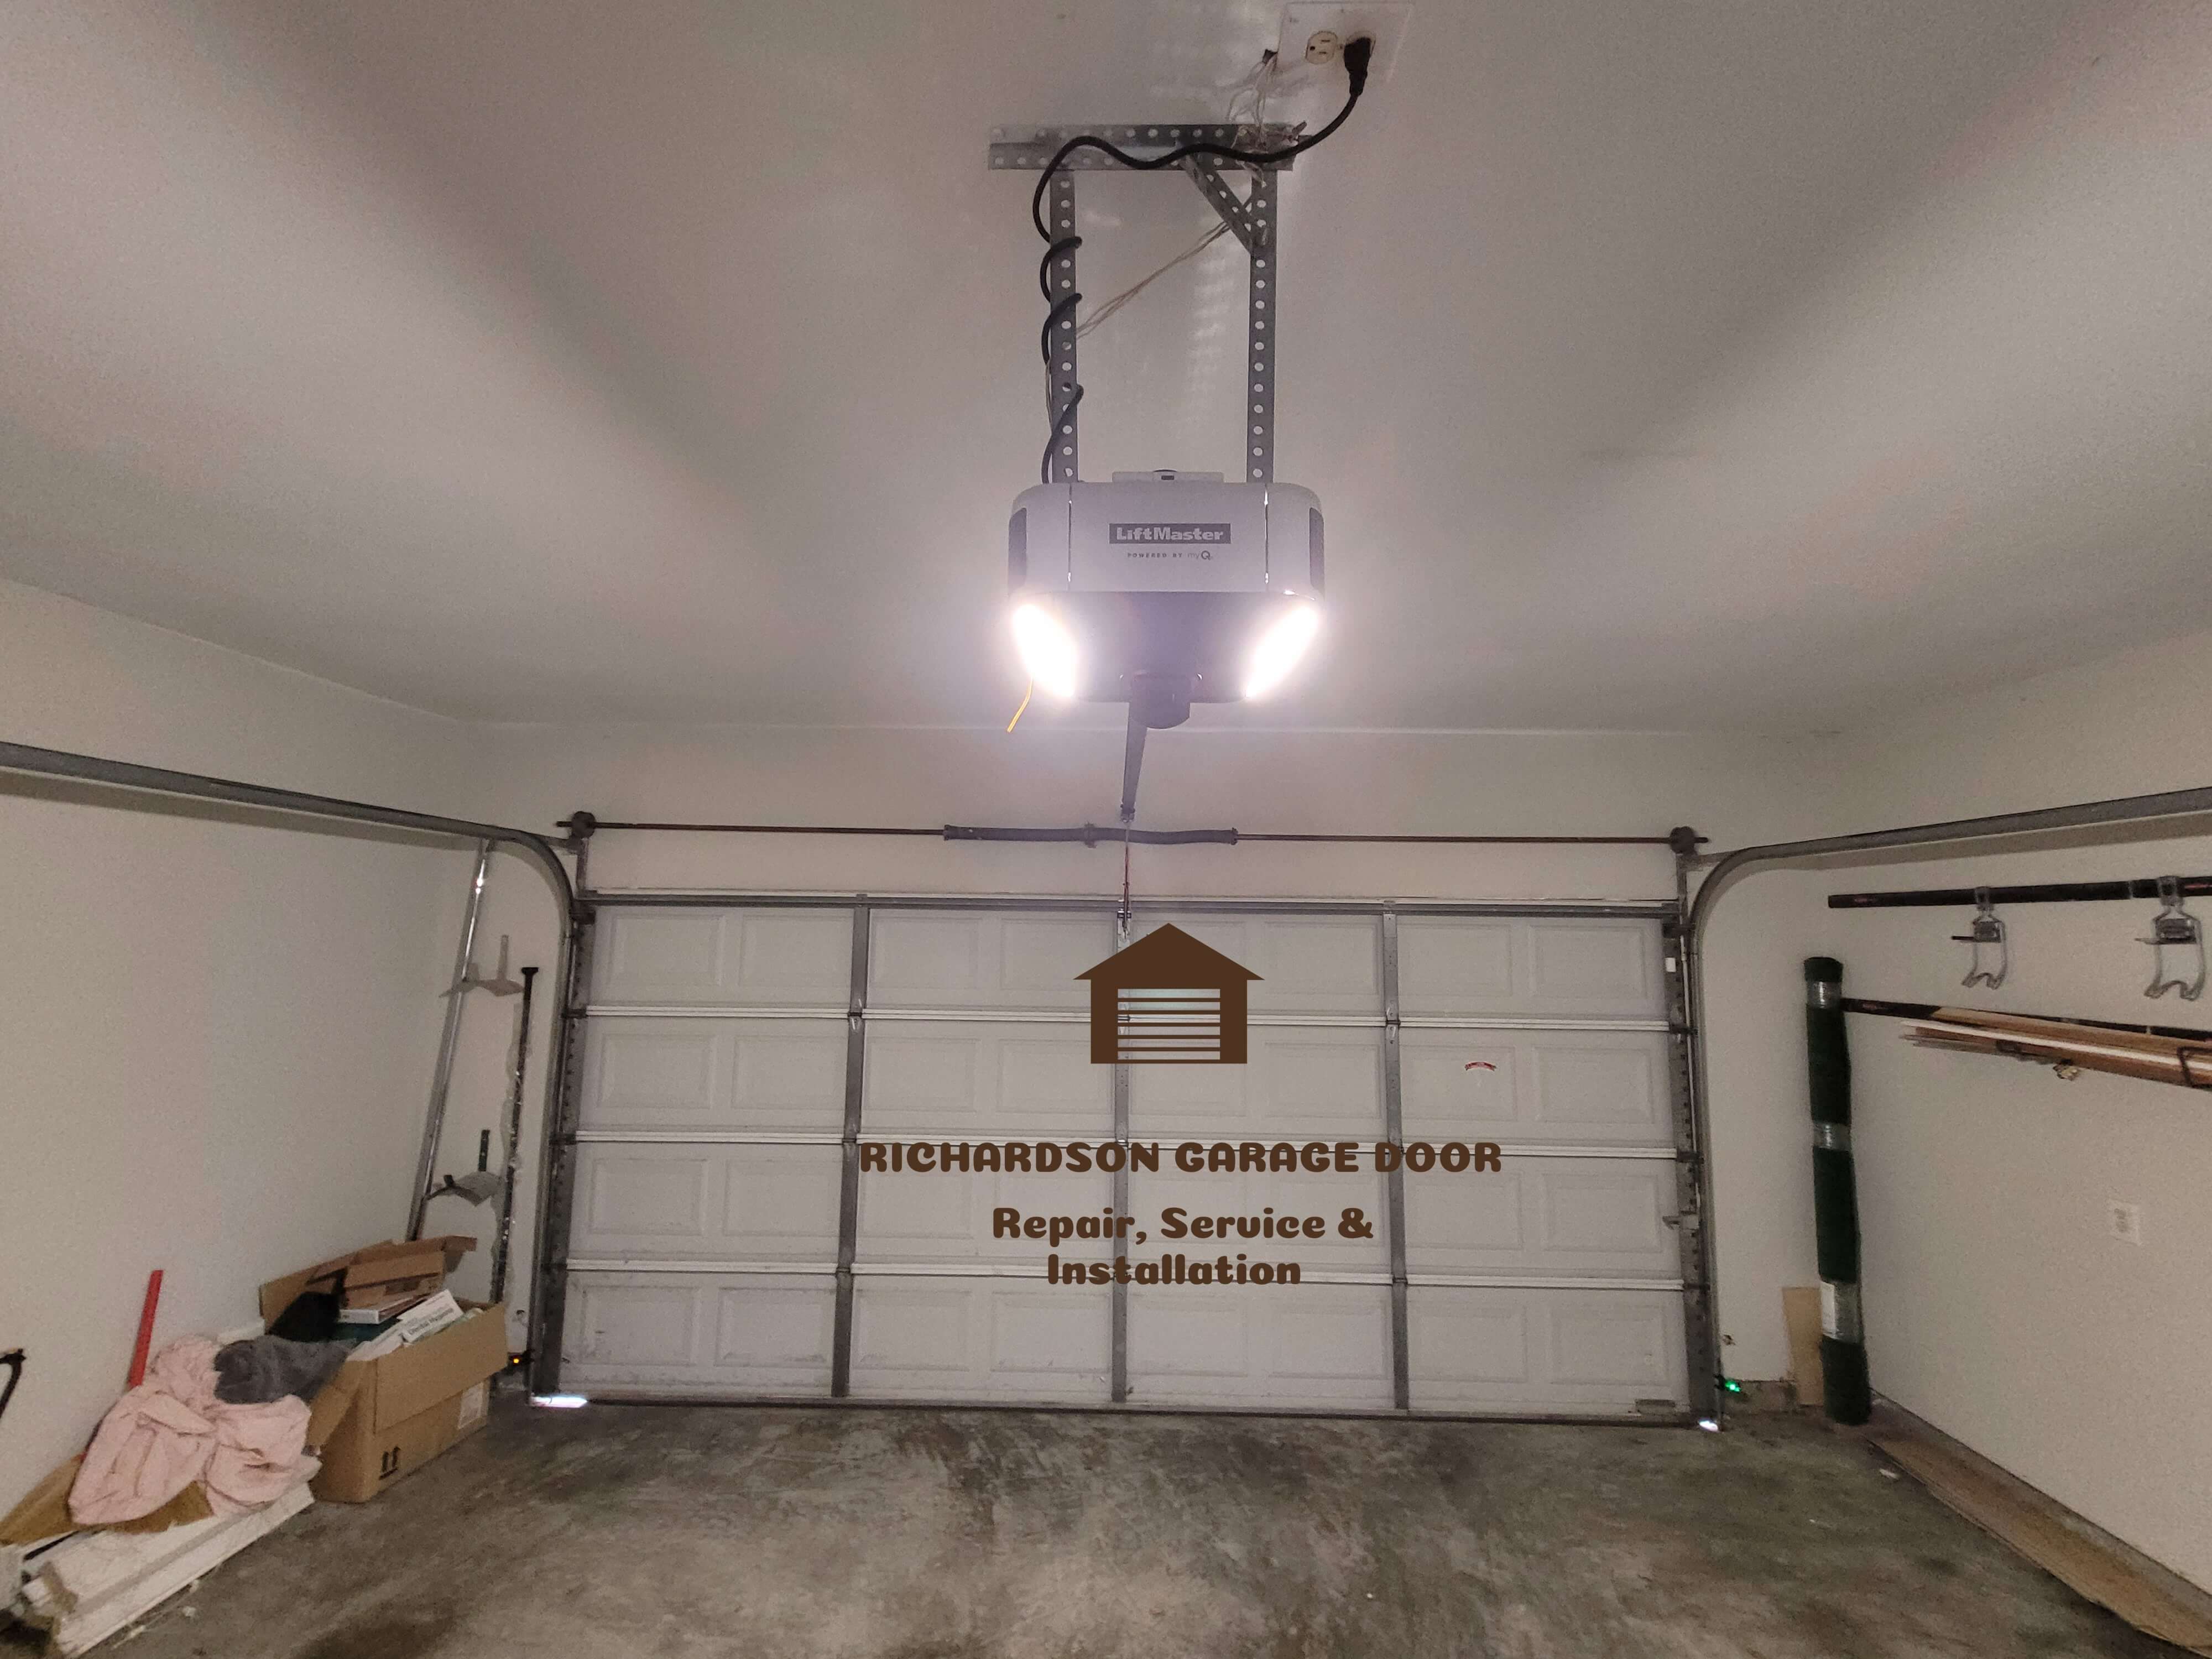
Travel Limit Programming Steps for Garage Door Opener

icon

Find the Travel Adjustment Buttons

  • The travel adjustment buttons or dials are located on the garage door opener motor. Most of them are marked "UP" and "DOWN" or "OPEN" and "CLOSE."
  • Some models have "+" and the "–" buttons which help to adjust the travel.
icon

Set Up (Open) Travel Limit

  • Simultaneously press and monitor the "UP" or "OPEN" adjustment button till the garage door starts moving upwards.
  • Once the door reaches your desired fully open position just release the button.
  • To make precise adjustments you can just tap the adjustment button.
garage-door-torsion-spring-replacement
icon

Set Down (Close) Travel Limit

  • Long-press the "DOWN" or "CLOSE" adjustment button until the garage door moves down.
  • Once closed tightly without pressure then just release the button.
  • To make precise adjustments you can just tap the adjustment button.
icon

Store the Settings

  • Almost all the garage door openers need you to hit the "SET" or "LEARN" button after the limit programming to store the settings. Please refer to your specific opener model.
icon

Check Manual Travel Limits

  • After programming, operate the garage opener to confirm the door open and close at the right places.
  • Watch out for new door standing short or reversing problems.
liftmaster-84505-garage-door-opener-install
garage-door-spring-replacement

Adapting the Force Settings (Optional)

  • If the door creates any noise while opening or closing it, you might have to adjust the force settings (the dials are often marked “OPEN FORCE” and “CLOSE FORCE”).
  • Try out the force and make adjustments until the door operates smoothly.

Troubleshooting

  • Door Doesn’t Fully Close: Adjust the setting for travel limits up by adding to the range.
  • Door Backfires or Doesn't Seal: Look for obstacles and clear them, adjust the close travel limit, or check the sensor.
  • Travel Not Maintaining: Make sure you pressed the "SET" button for the changes to be saved.

Specific Brand Instructions

  • LiftMaster/Chamberlain/Craftsman: You can use the up/down arrows or adjustment screws. Press "SET" to save.
  • Genie: Use the programming buttons labeled for use of travel then save as instructed in the manual.
  • Don't forget to check your opener's user guide for the exact settings that apply to the specific model you have. Correct travel settings guarantee both safety and efficiency in the operation of your garage door opener.

Hinge Replacement

Garage Door Hinge Replacement

Garage door hinge replacement is a crucial repair that should be made to ensure that the door functions safely. Hinges, like other elements of the garage door, can wear out with time from regular usage, get rusty, or bent or get broken through some mishap. Here are the detailed instructions to replace the garage door hinge accurately and safely:
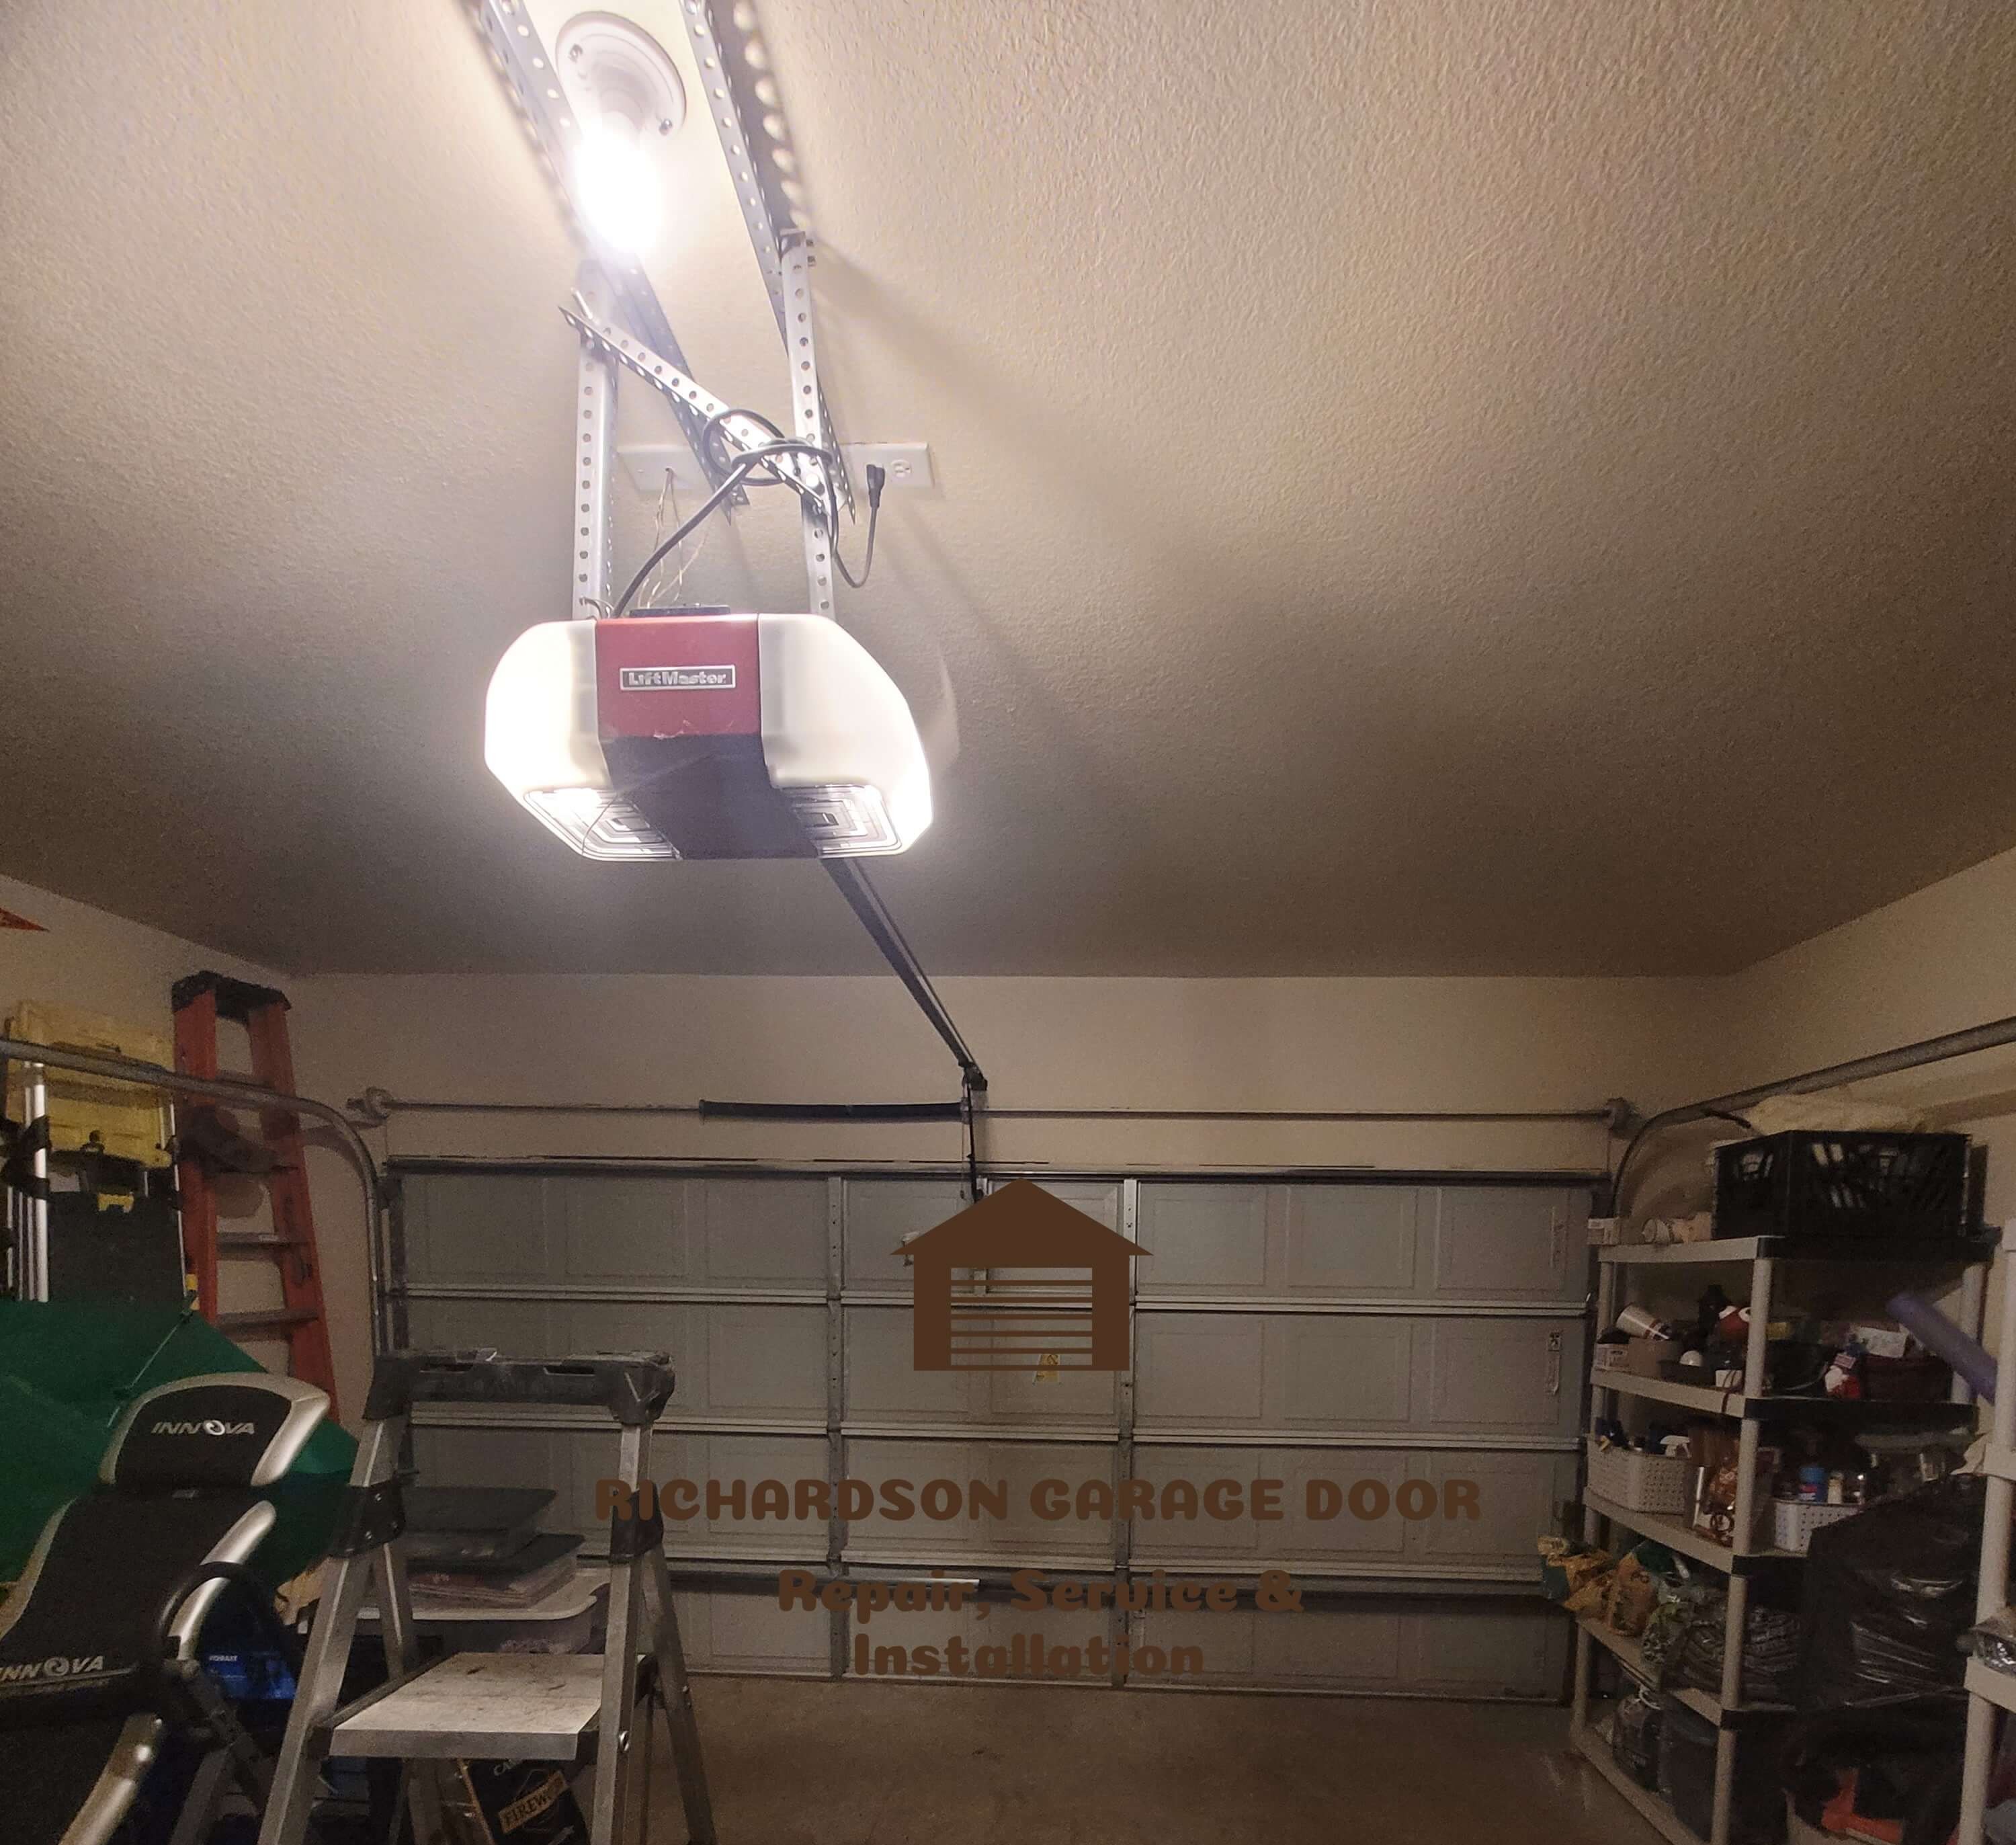
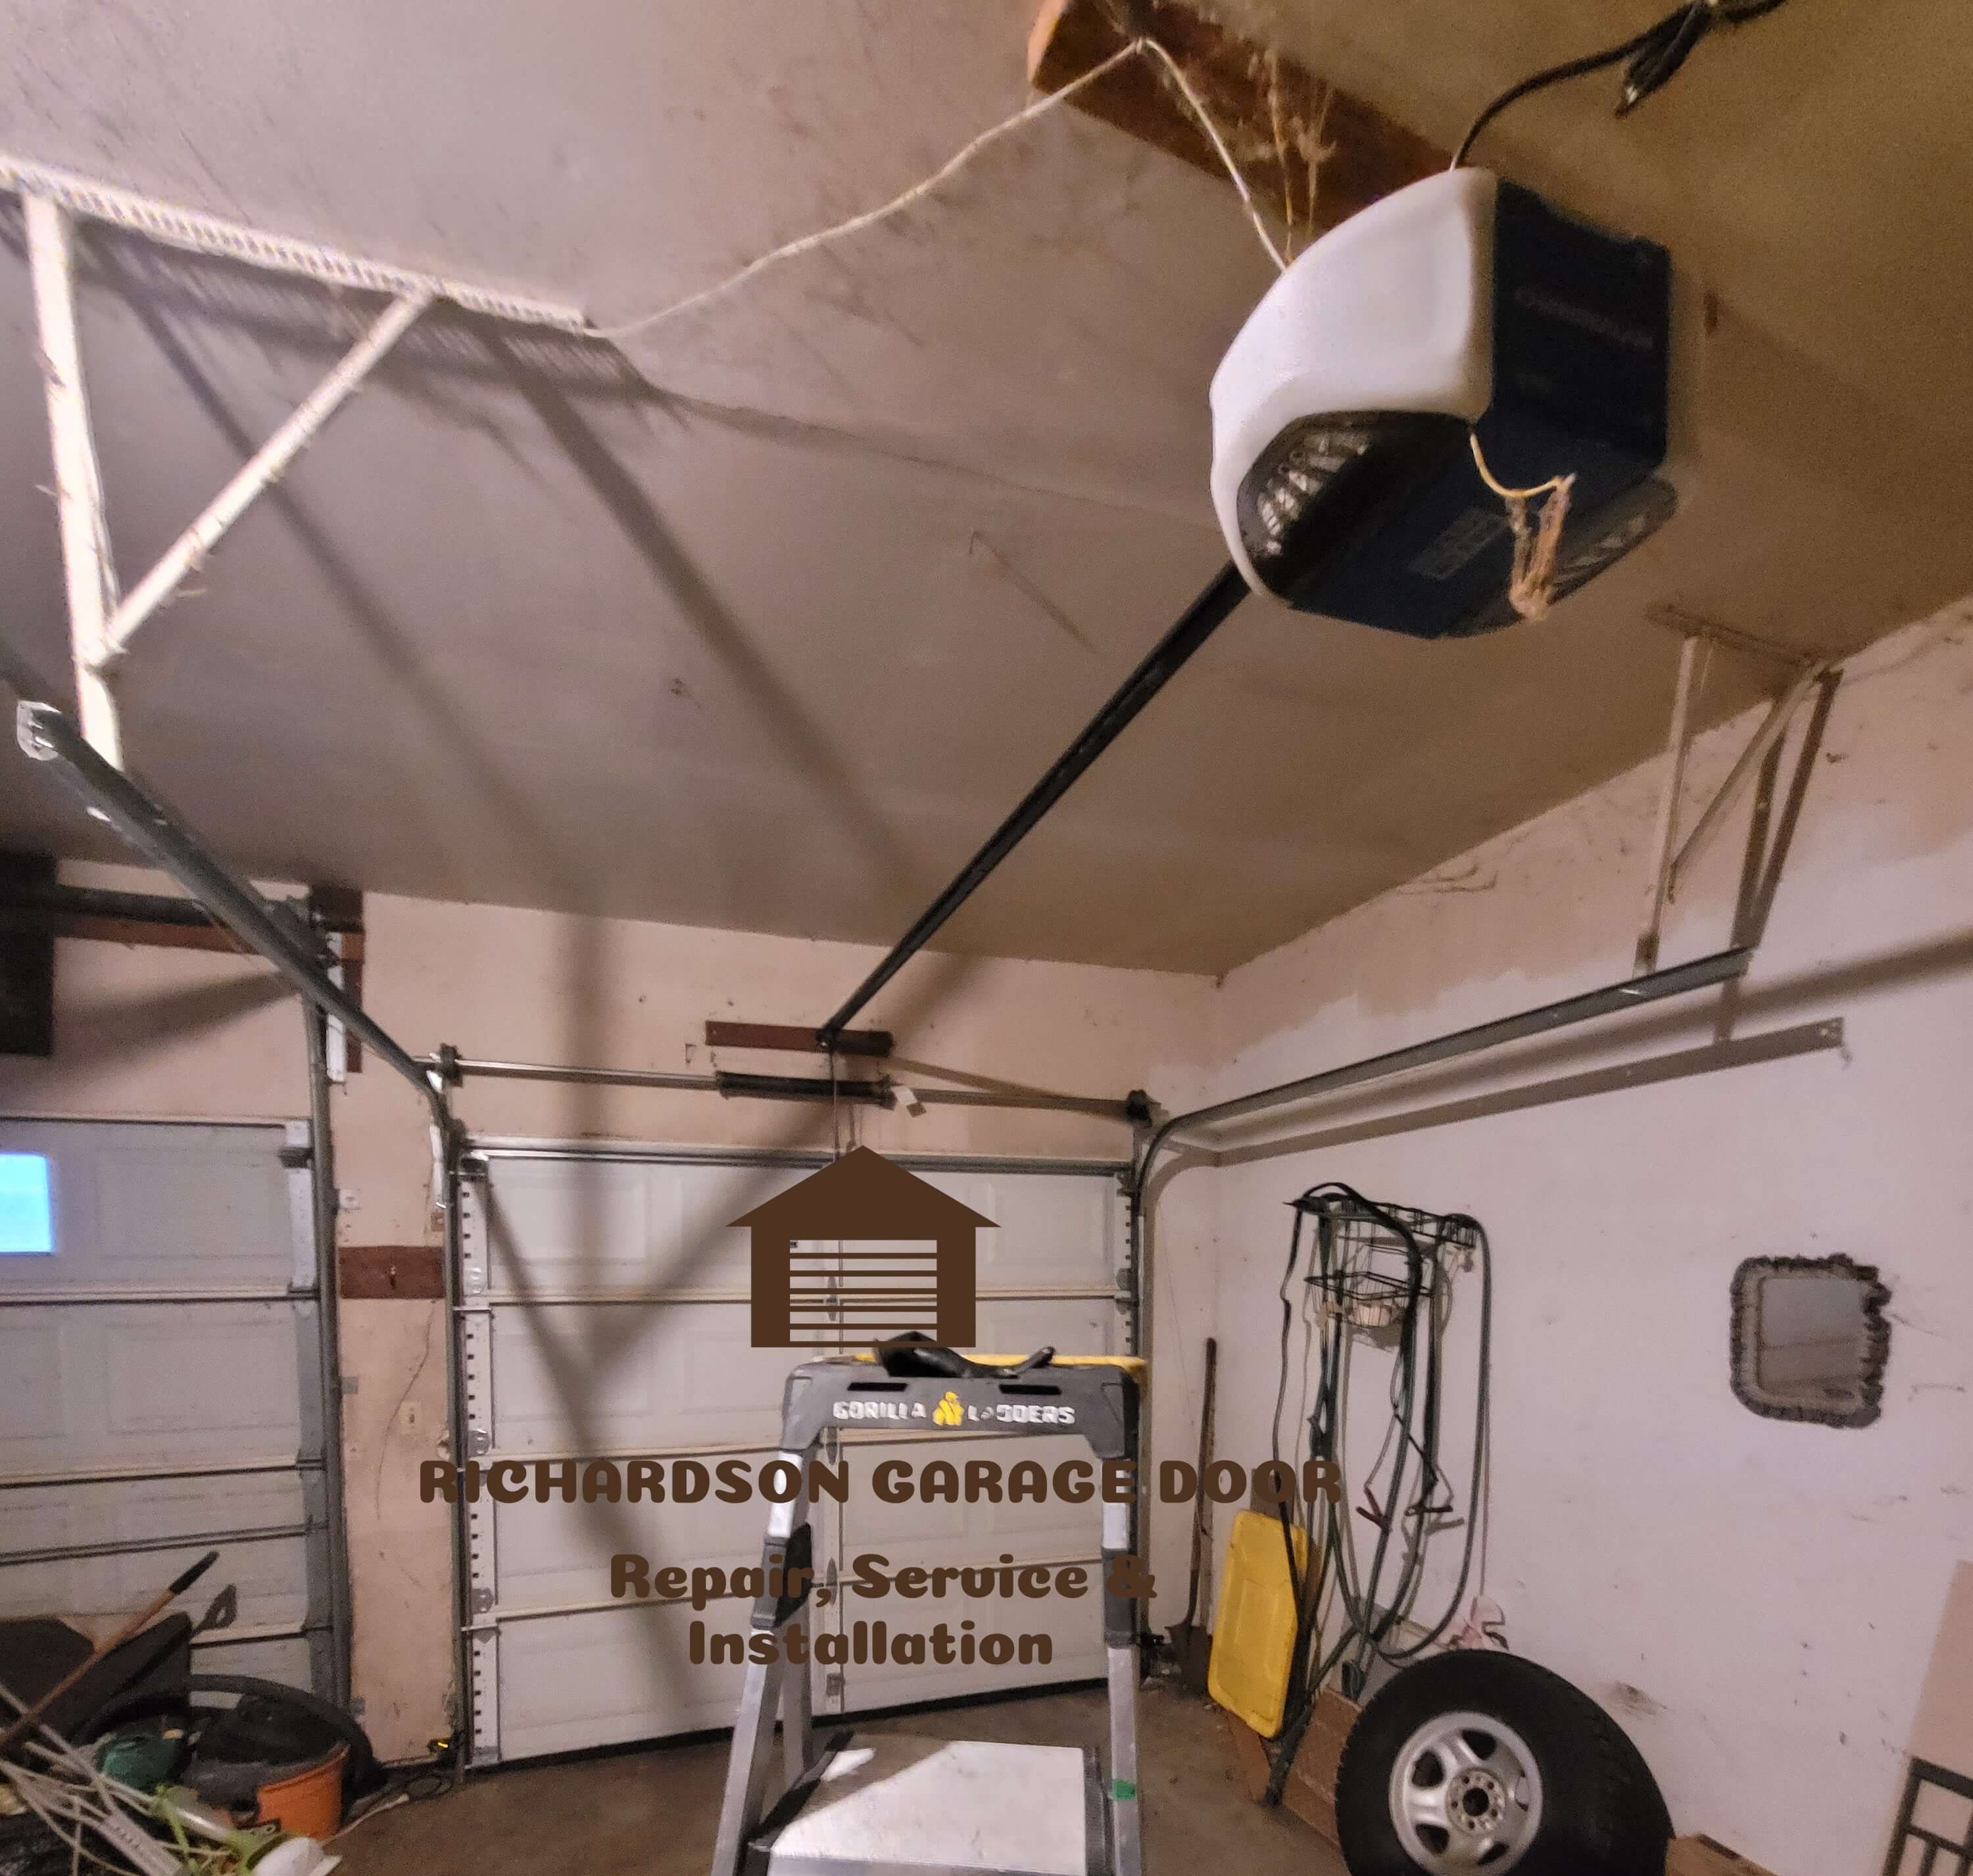
Proposed tools and materials

  • Correct replacement hinge (Measure the size and type of existing hinges)
  • Socket wrench or ratchet set
  • Screwdriver
  • C-clamps or locking pliers
  • Safety gloves
  • Step ladder

The procedure for Garage Door Hinge Replacement

icon

Actelimarily Safe

  • Disconnect the garage door opener to stop accidental operation.
  • Ensure all is right with the door by fastening it fully and securing it with C-clamps or locking pliers on the tracks to avoid any movement.
icon

Look at the Hinges

  • Identify which ones need replacements. Check them for any cracks, bends, or any loose attachments.
icon

Take Out the Old Hinge

  • Loosen and remove the screws or bolts lock the hinge to the garage door panels using a socket wrench or screwdriver.
  • Gently take the hinge off, taking care not to damage the attached roller or other parts.
icon

Fit the New Hinge

  • Put the new hinge the same way as before..
  • If the hinge holds a roller, insert the roller into the track before securing the hinge.
  • Tighten the screws or bolts to securely attach the new hinge to the door panel.
icon

Repeat for Additional Hinges

  • For multi hinge replacement, replace one hinge at a time to keep the door stable.
  • Do the same process for the other hinges that require changing.
icon

Check the Door Mechanism

  • Remove the clamps or locking pliers from the tracks.
  • Reconnect the garage old door opener, and test the door operation smoothly.

Tips for Success

  • Correct Hinge Choice: Hinges are never usually two faced, but are number labeled (#1, #2, #3, etc.) and thus show which is the door's position. The match the number to the replacement hinge.
  • Lubricate Moving Parts: As you are changing the hinge, think of lubricating the rollers and hinges so they can work well together.
  • Inspect the Clarinet Parts Again: During hinge replacement, you should check the rollers, tracks, and screws for any deterioration or other harm.
legacy-overhead-garage-door-repair legacy-overhead-garage-door-repair

Prices

Our Prices

Zip codes in Richardson Texas Service Call & Estimate Door Repair Opener Repair & Install Commercial Door repair & Install Door Installation
75080 Free On Site Estimate $149-$357 $163-$865 $254-$1843 $983 - $1871
75081 Free / No Charge $149-$357 $163-$865 $254-$1843 $983 - $1871
75082 Free / No Charge $149-$357 $163-$865 $254-$1843 $983 - $1871
75083 Free / No Charge $149-$357 $163-$865 $254-$1843 $983 - $1871
75085 Free / No Charge $149-$357 $163-$865 $254-$1843 $983 - $1871
Cities nearby Richardson Texas Service Call & Estimate Door Repair Opener Repair & Install Commercial Door repair & Install Door Installation
Plano Free On Site Estimate $145-$352 $168-$324 $219-$558 $919 - $1645
Garland Free On Site Estimate $145-$352 $168-$324 $219-$558 $919 - $1645
Dallas Free On Site Estimate $145-$352 $168-$324 $219-$558 $919 - $1645
Addison Free On Site Estimate $145-$352 $168-$324 $219-$558 $919 - $1645
Carrollton Free On Site Estimate $145-$352 $168-$324 $219-$558 $919 - $1645
Murphy Free On Site Estimate $145-$352 $168-$324 $219-$558 $919 - $1645
Sachse Free On Site Estimate $145-$352 $168-$324 $219-$558 $919 - $1645
Mesquite Free On Site Estimate $145-$352 $168-$324 $219-$558 $919 - $1645
Wylie Free On Site Estimate $145-$352 $168-$324 $219-$558 $919 - $1645
Allen Free On Site Estimate $145-$352 $168-$324 $219-$558 $919 - $1645
McKinney Free On Site Estimate $145-$352 $168-$324 $219-$558 $919 - $1645
Farmers Branch Free On Site Estimate $145-$352 $168-$324 $219-$558 $919 - $1645
Rowlett Free On Site Estimate $145-$352 $168-$324 $219-$558 $919 - $1645
Highland Park Free On Site Estimate $145-$352 $168-$324 $219-$558 $919 - $1645
garage-door-repair

Contact Us

Get in Touch